")
Hello, sweet friends! We’re so glad you stopped by!
Today we want to show you how to craft your own darling candy buffet in 3 simple steps. To keep things short, sweet, and to the point, let’s dive right in!
Step 1. Plan Your Candy Buffet
Planning your theme, color scheme, and goodies is key to a stunning candy buffet. Are you putting together a corral of cowboy themed goodies for your son’s birthday party? Creating a beautiful and tantalizing way to keep your wedding guests satisfied? Use our guide below to pick your theme, mood, and color scheme!

Once you’ve got the basic design nailed down, order enough coordinating candy to treat your entire guest list. Planning your order of bulk candy ahead of time will keep you from splurging on more sweets than anyone could possibly stomach. However, it is wise to order extra goodies in the event of unexpected guests or extreme sugar addicts.
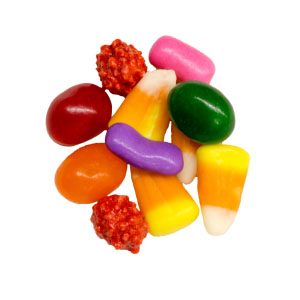
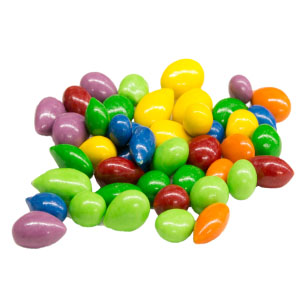
The type of candy you order should depend on the theme, mood, and colors of your event. However mouthwateringly magnificent they may be, our Ice Cream Gummies may not fit in with your elegant wedding spread, but they sure add a dash of darling to candy buffets that serve a different crowd!
Step 2. Set the Stage
The perfect foundation for any candy display is a table cloth that sets the stage. Whether you choose a delicate lace fabric or a trendy, burlap banner, this step will make a huge difference in your candy buffet’s appearance. Once you’ve ordered your tasty treats, plan on buying one jar, bowl, or stand for each type of candy. Resist the urge to buy every pretty apothecary jar at the thrift store – we know it’s hard! – or you’ll end up with an overabundant amount of fragile glass that you’ll be gently packing away and storing for years to come!
Make sure to use a variety of sizes for your candy displays. For a candy buffet that’s perfectly proportioned, abide by our size and placement guidelines below!
- Place your two tallest containers at the back corners of your buffet and fill them with eye-catching treats that are a popular choice. Our Red Apple Caramels, for example, are just as decorative as they are luscious!
- On the center of your table near the back end is the perfect place for a gorgeous cake, a stand of pastries, or a broad, elevated bowl of large sweets.
- Scattered along the remaining space is where you place your smaller dishes, sticking to a more subtle size variation.
- Designate the two front corners of your candy buffet (or one corner) for your bags and ties.

Step 3. Dress It up!
Once your candy containers are placed and filled to the brim with scrumptious delights, it may seem a little bland compared to those Pinterest creations you’ve been drooling over. Dress up your candy buffet with charming labels, custom goodie bags, ribbons, and other finishing touches. You’ll be amazed at the difference a few quick and easy additions can make.
We wish you the sweetest of luck in crafting your very own candy buffet, and we hope you found these tips useful! Don’t forget to check out our online candy shop for a vast selection of decadent candies, scrumptious snacks, and unique creations to fill your candy buffet with!


Great website you have here but I was curious about if you knew of
any user discussion forums that cover the same topics talked about here?
I’d really like to be a part of community where I can get feed-back from
other knowledgeable people that share the same interest.
If you have any recommendations, please let me know. Kudos!